Clay your own case failure
I tried to clay a case for my Raspberry Pi, but failed. Here is what I did.
First I modeled the Raspberry Pi using cardboard. It was fun to do, I don't think you need to be that secure while doing it. The idea was to surround the cardboard replica with clay so it would create a case.
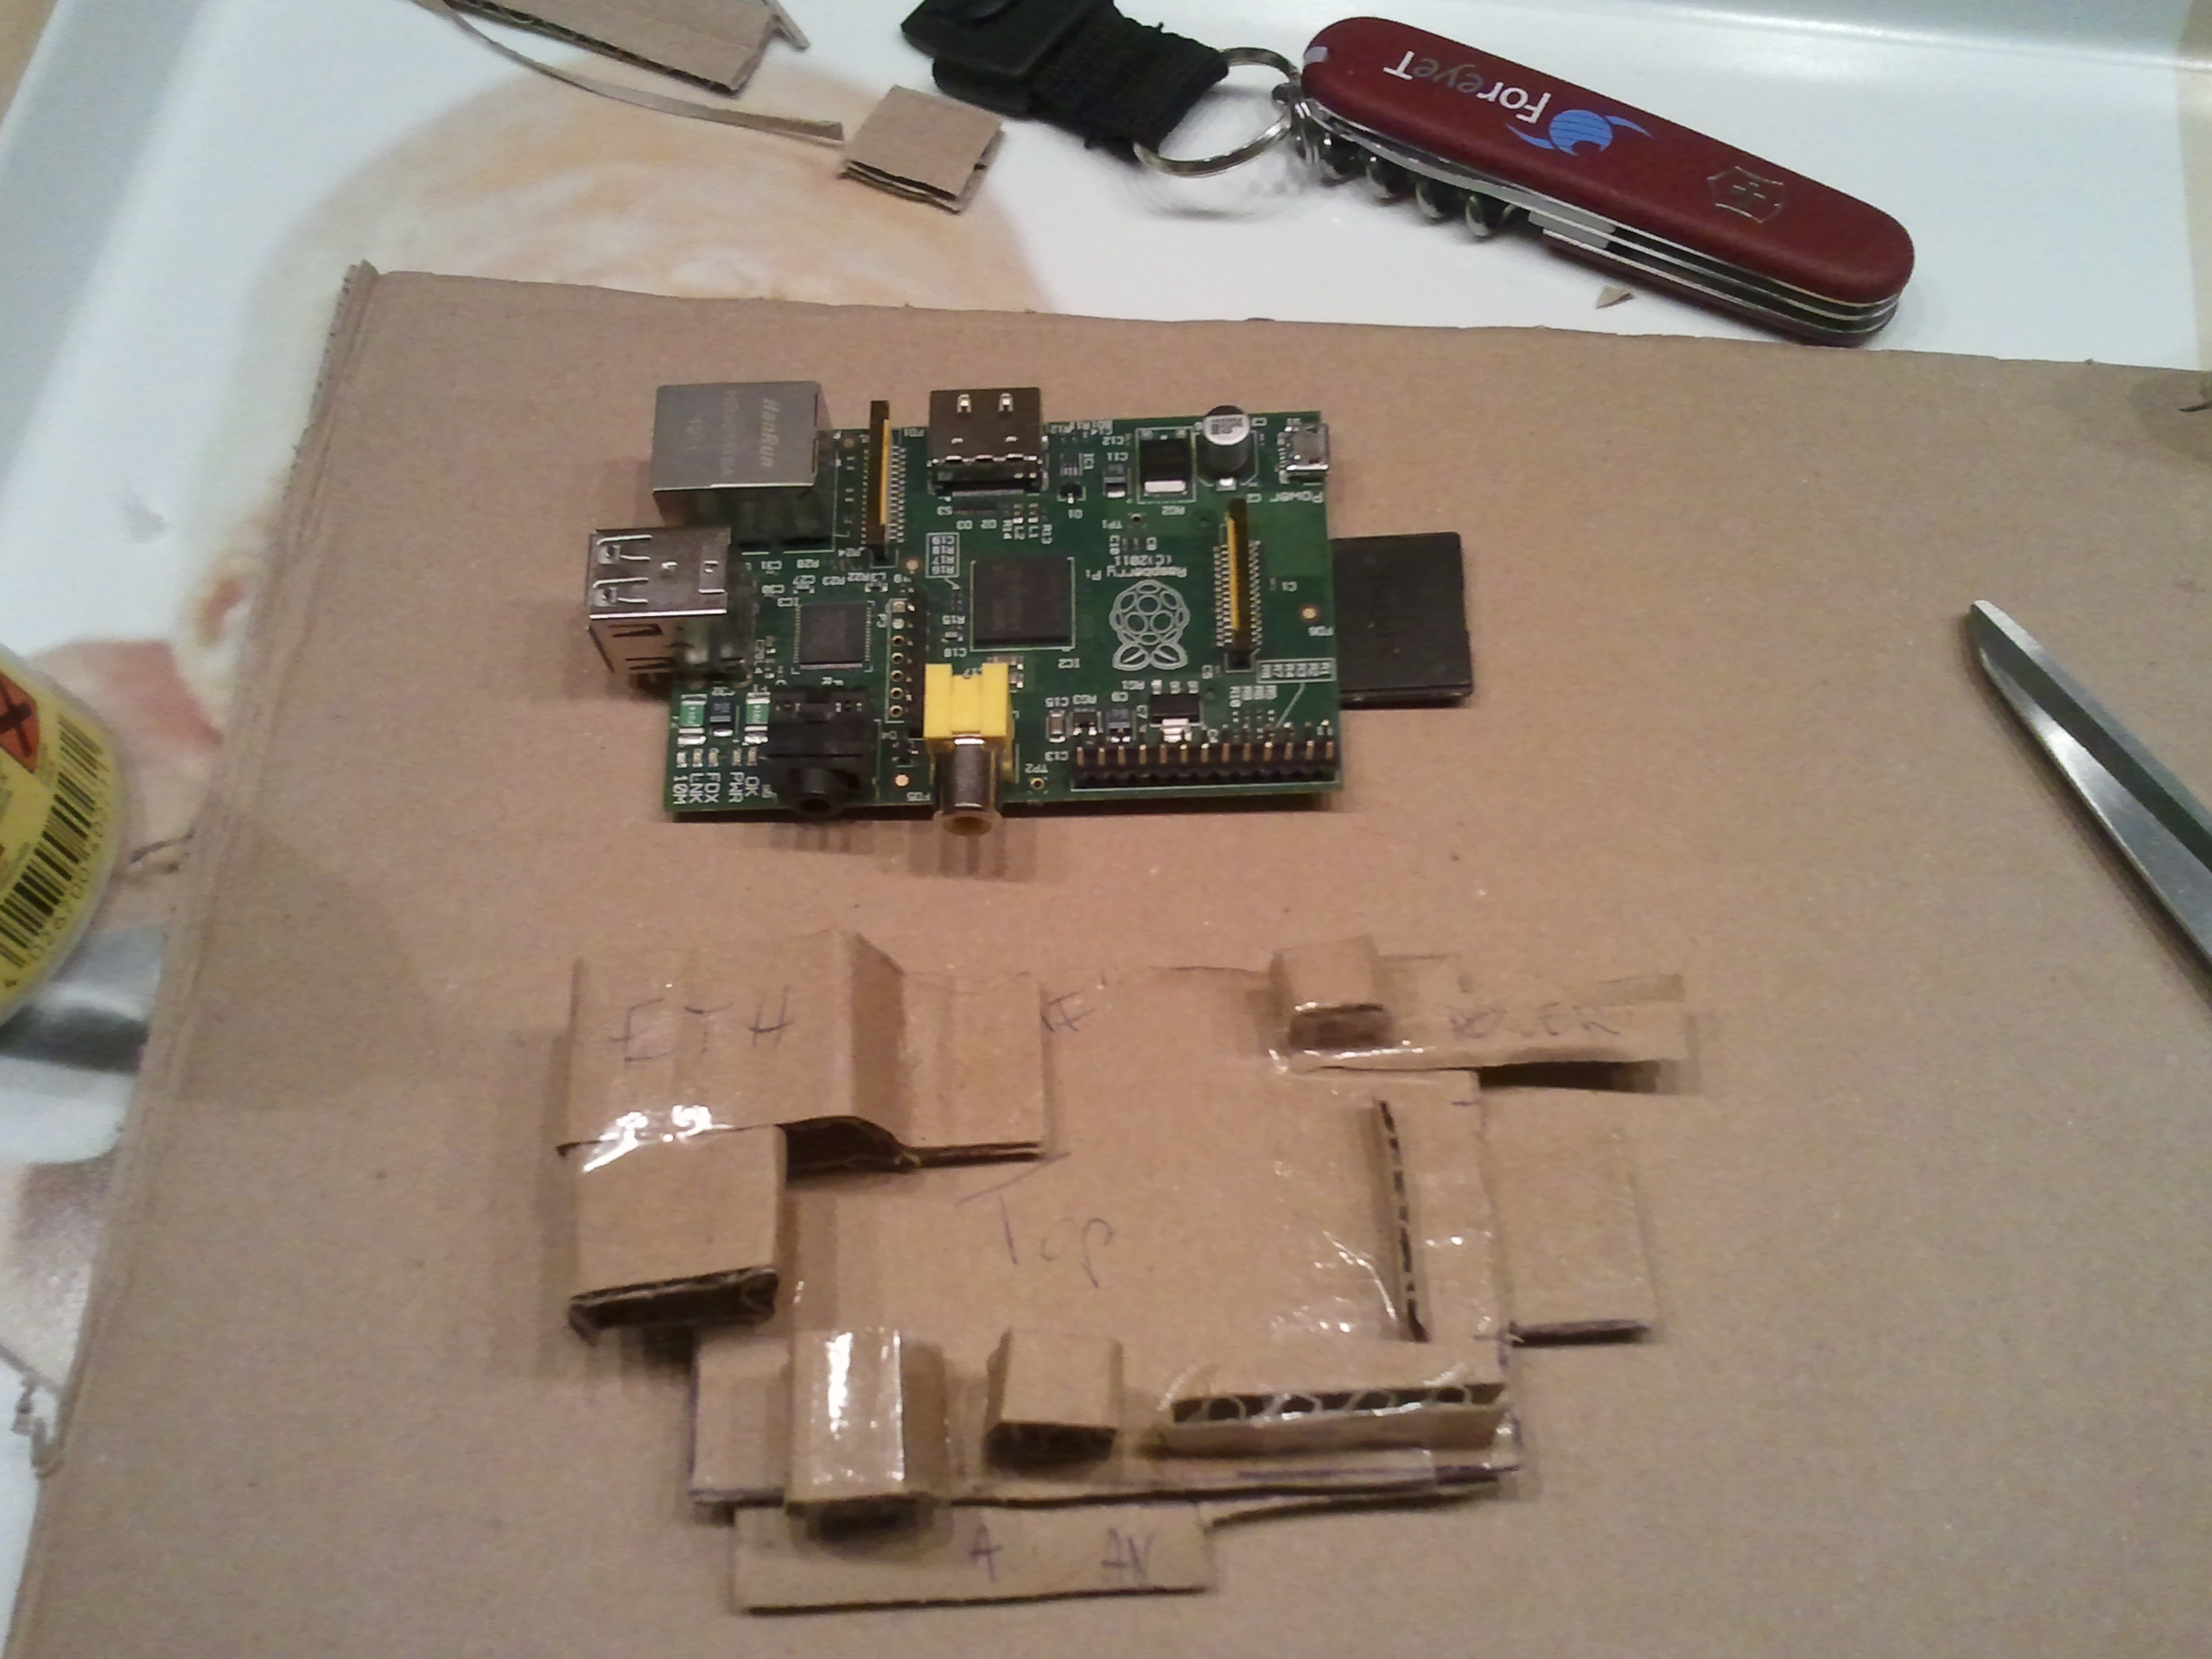
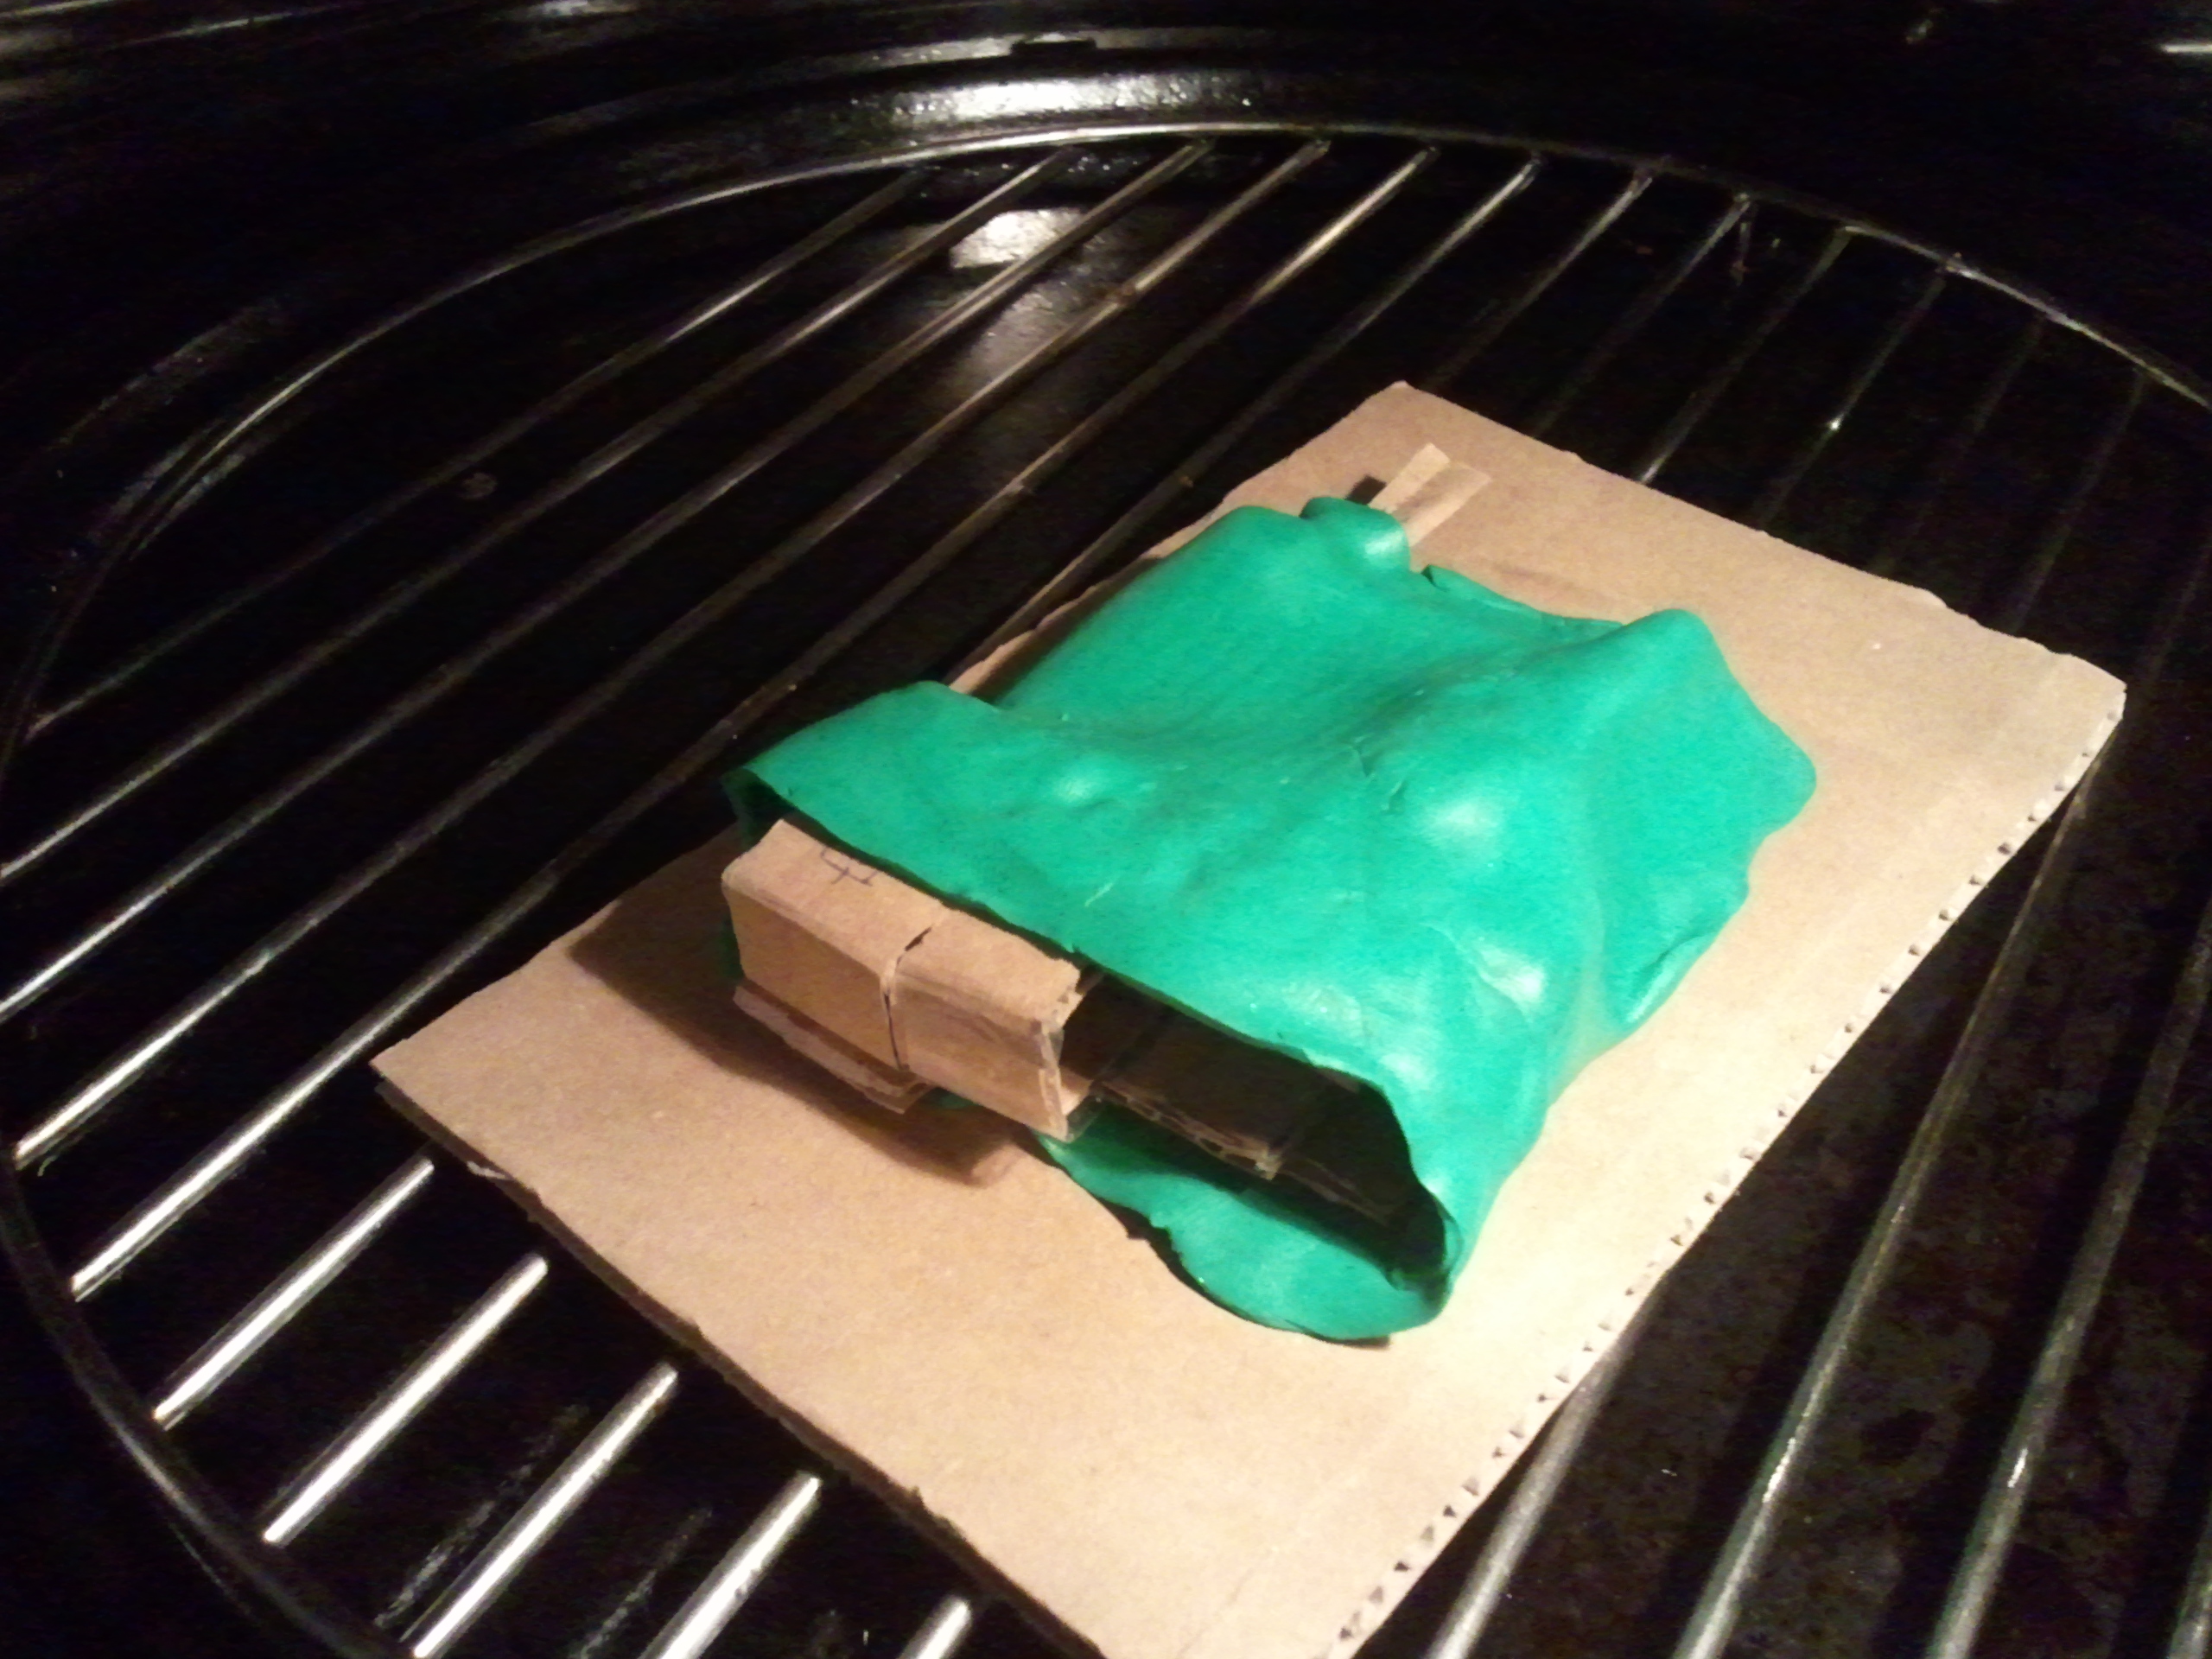
I then started to surround the cardboard replica with clay keeping Ethernet connector side open, making it possible for the Pi to slide out. The idea was to have a case where one side was open and the Pi could slip in. It took quite a bit of clay to surround the cardboard model.
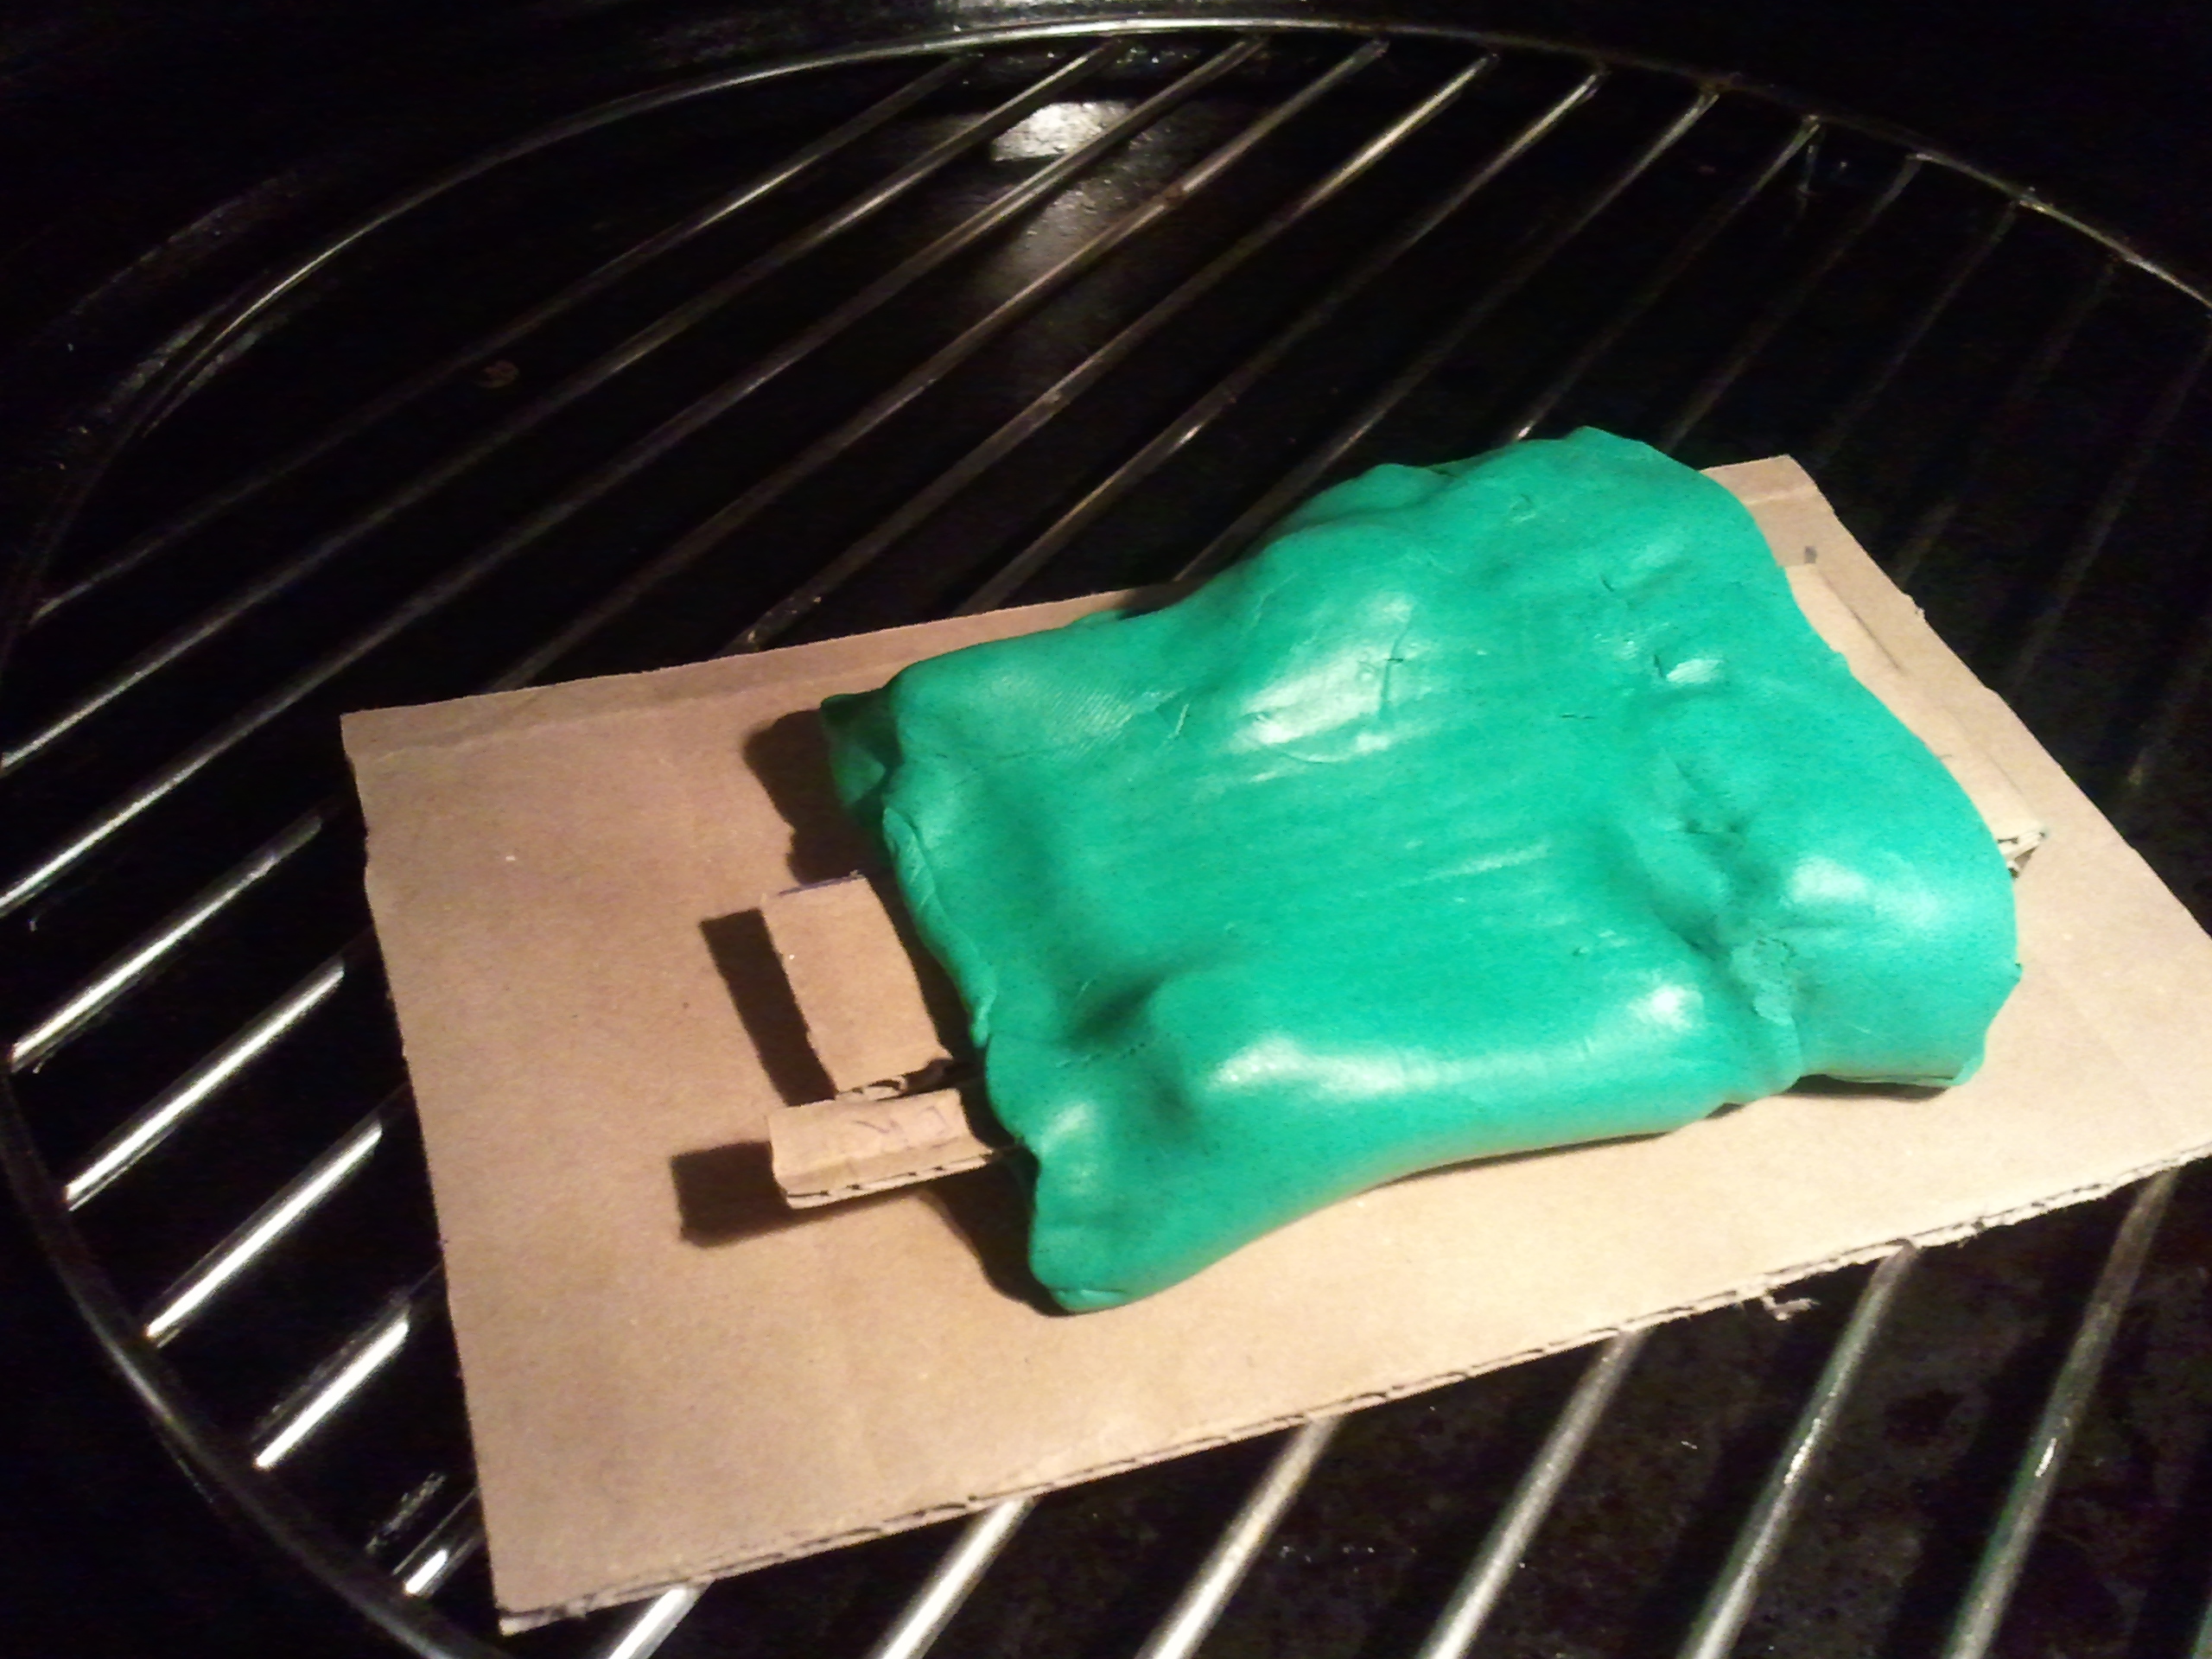
I then put the model in the oven but as the clay began to harden, it also sinked in a bit. This made a dent between the capacitor and the Ethernet connector, which meant the Pi would no longer be able to slip in and out of the clay case! I quickly removed it and tried to fix it with a piece of cardboard, but because the clay already partially hardened it got completely destroyed

What I learned:
- It takes quite a bit of clay to actually surround the Pi.
- Make sure you keep plenty of space for sliding it in and out.
- As the clay gets hot, it will droop a little. I thought this would make for a cool effect, but it actually worked against the practicality of the case.
- It is really hard to make the case look cool without being a master-clay-prodder.
- The case will probably end up to brittle to be usable on a daily basis.
It was a nice experiment, but I don't think I'm going to try it again. One choice might be to use a simple square clay case and drill some holes in it afterwards. But my next attempt will most likely be using a normal piece of plastic.